GrowZen Setup Guide
Step-by-step visuals with clear instructions so you can launch faster and avoid setup mistakes.
Video Setup Guide
Watch the complete walkthrough if you want a full visual tour before starting.
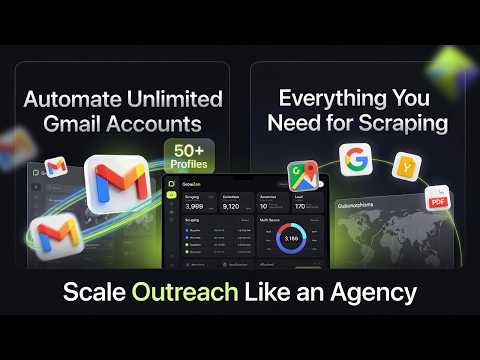
Generate Unlimited Leads and Manage Unlimited Multi Gmail Campaigns
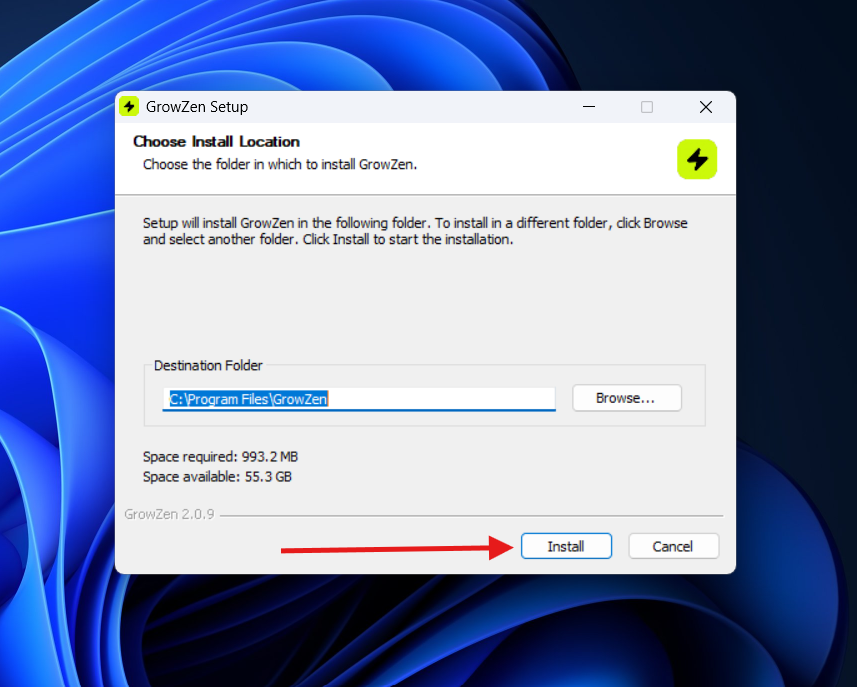
Start the installer
Open the setup file to begin the installation wizard.
- Double-click the downloaded GrowZen setup file.
- Approve the Windows security prompt when asked.
- Keep the default install location unless you need a custom path.
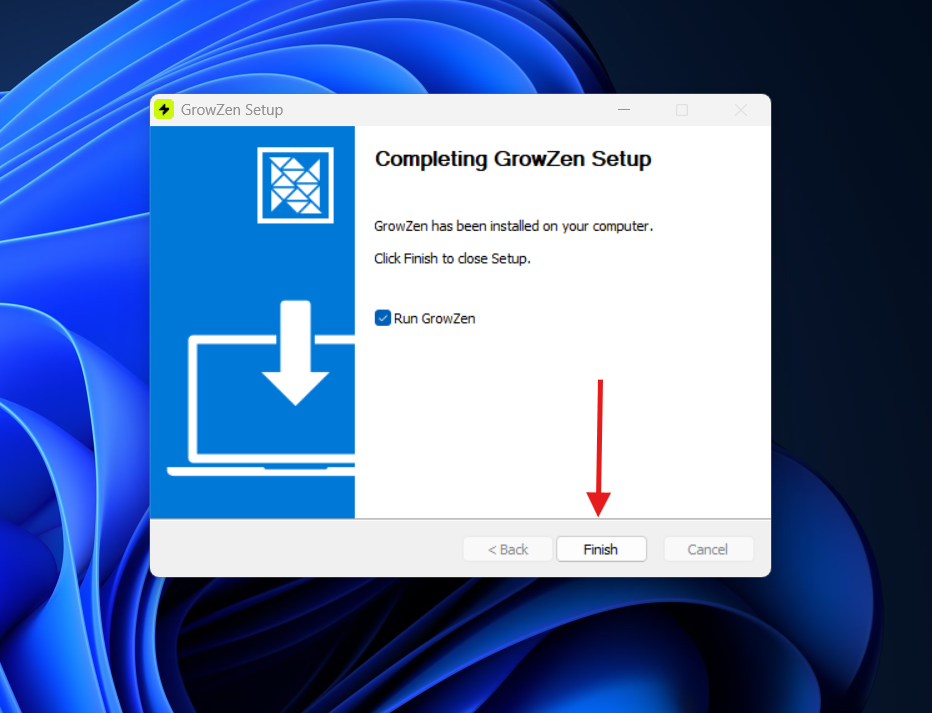
Finish installation
Complete the installation steps to finish setup.
- Wait for the installer to finish copying files.
- Click Finish to launch GrowZen immediately.
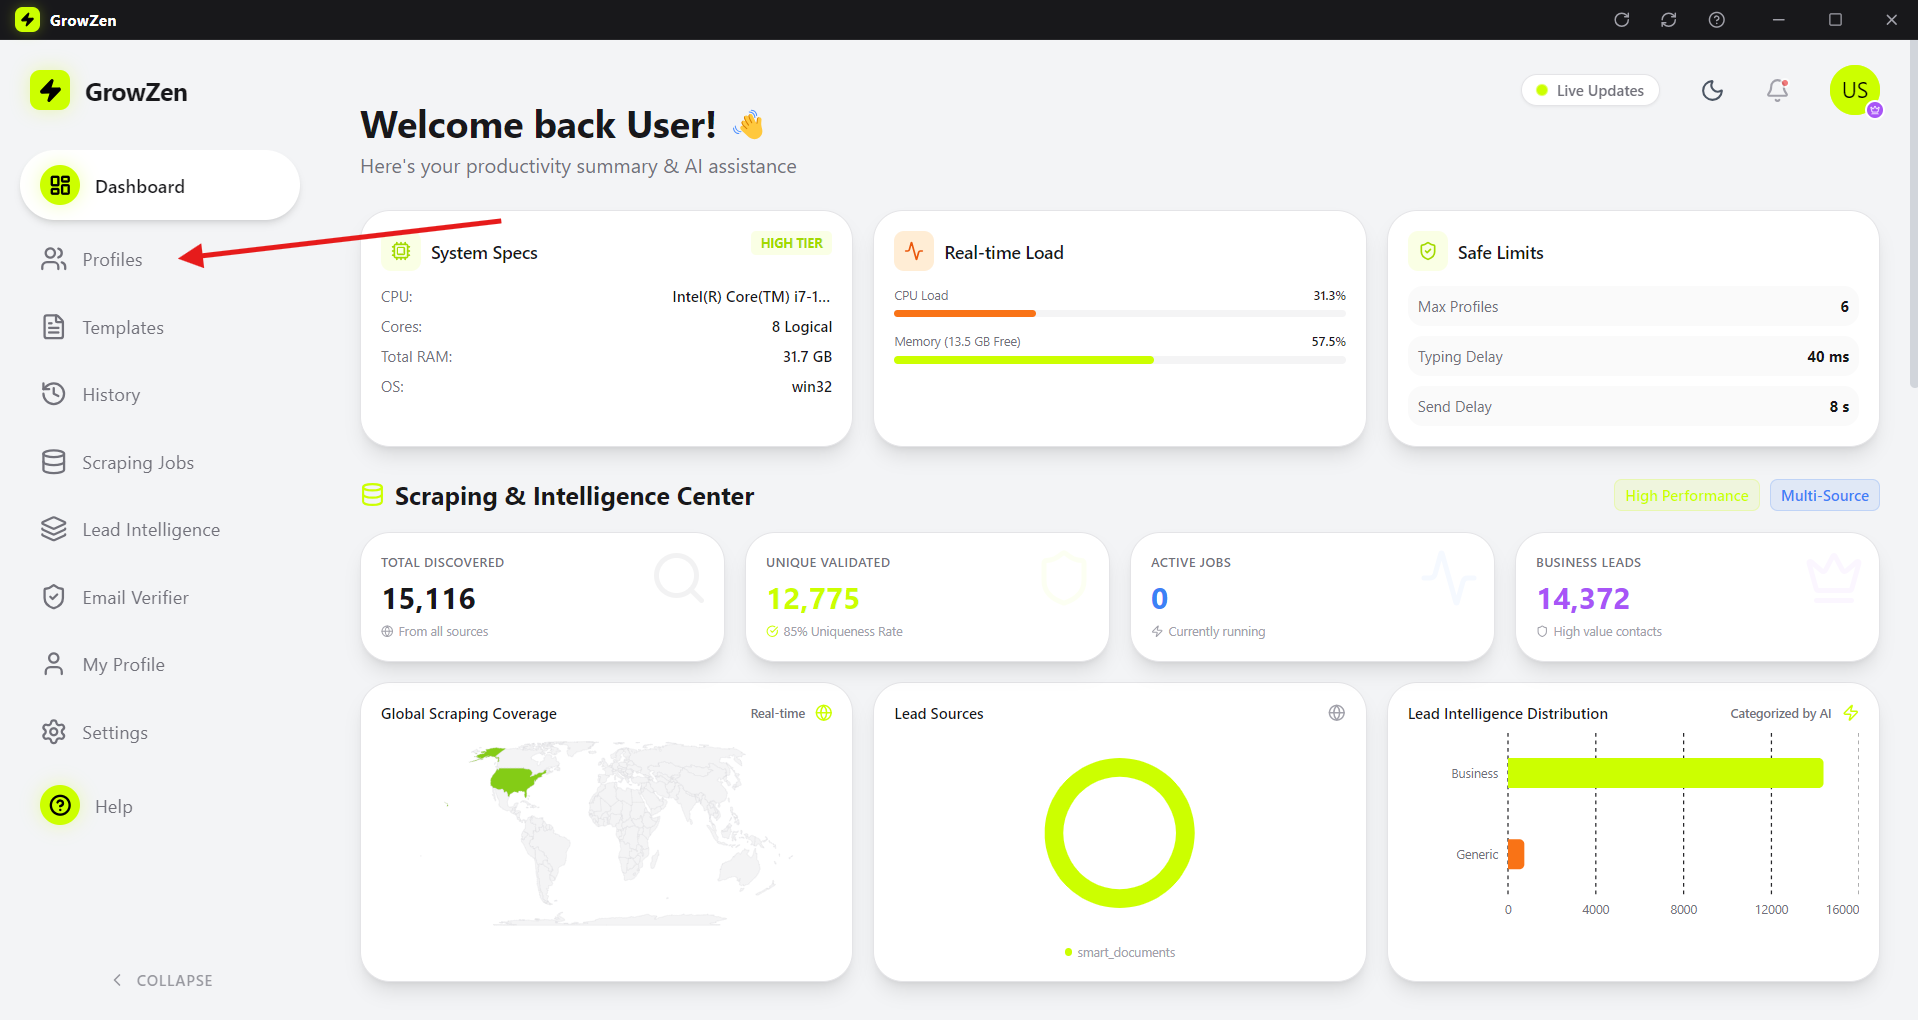
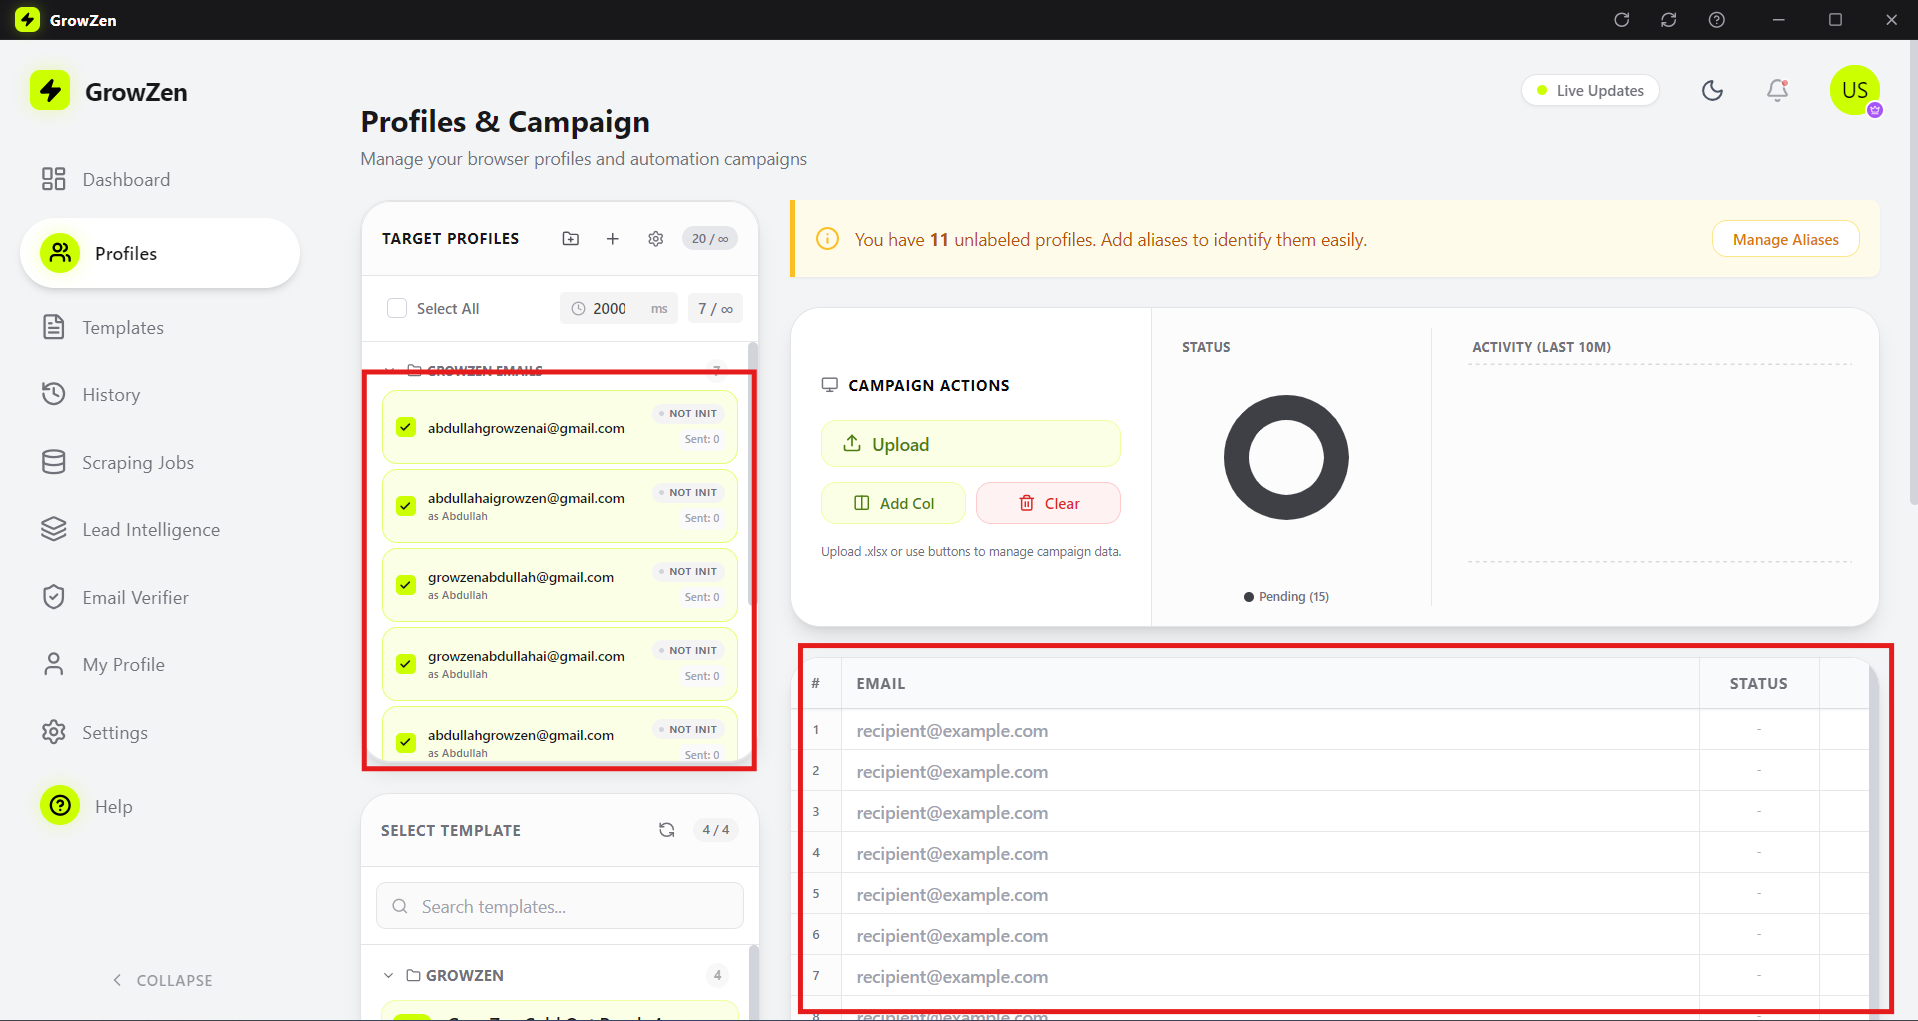
Open the profiles page
Go to Profiles to begin configuring your sending accounts.
- Navigate to the Profiles section from the sidebar.
- Connect or load the Gmail profiles you want to use.
- Confirm each profile is active before sending.
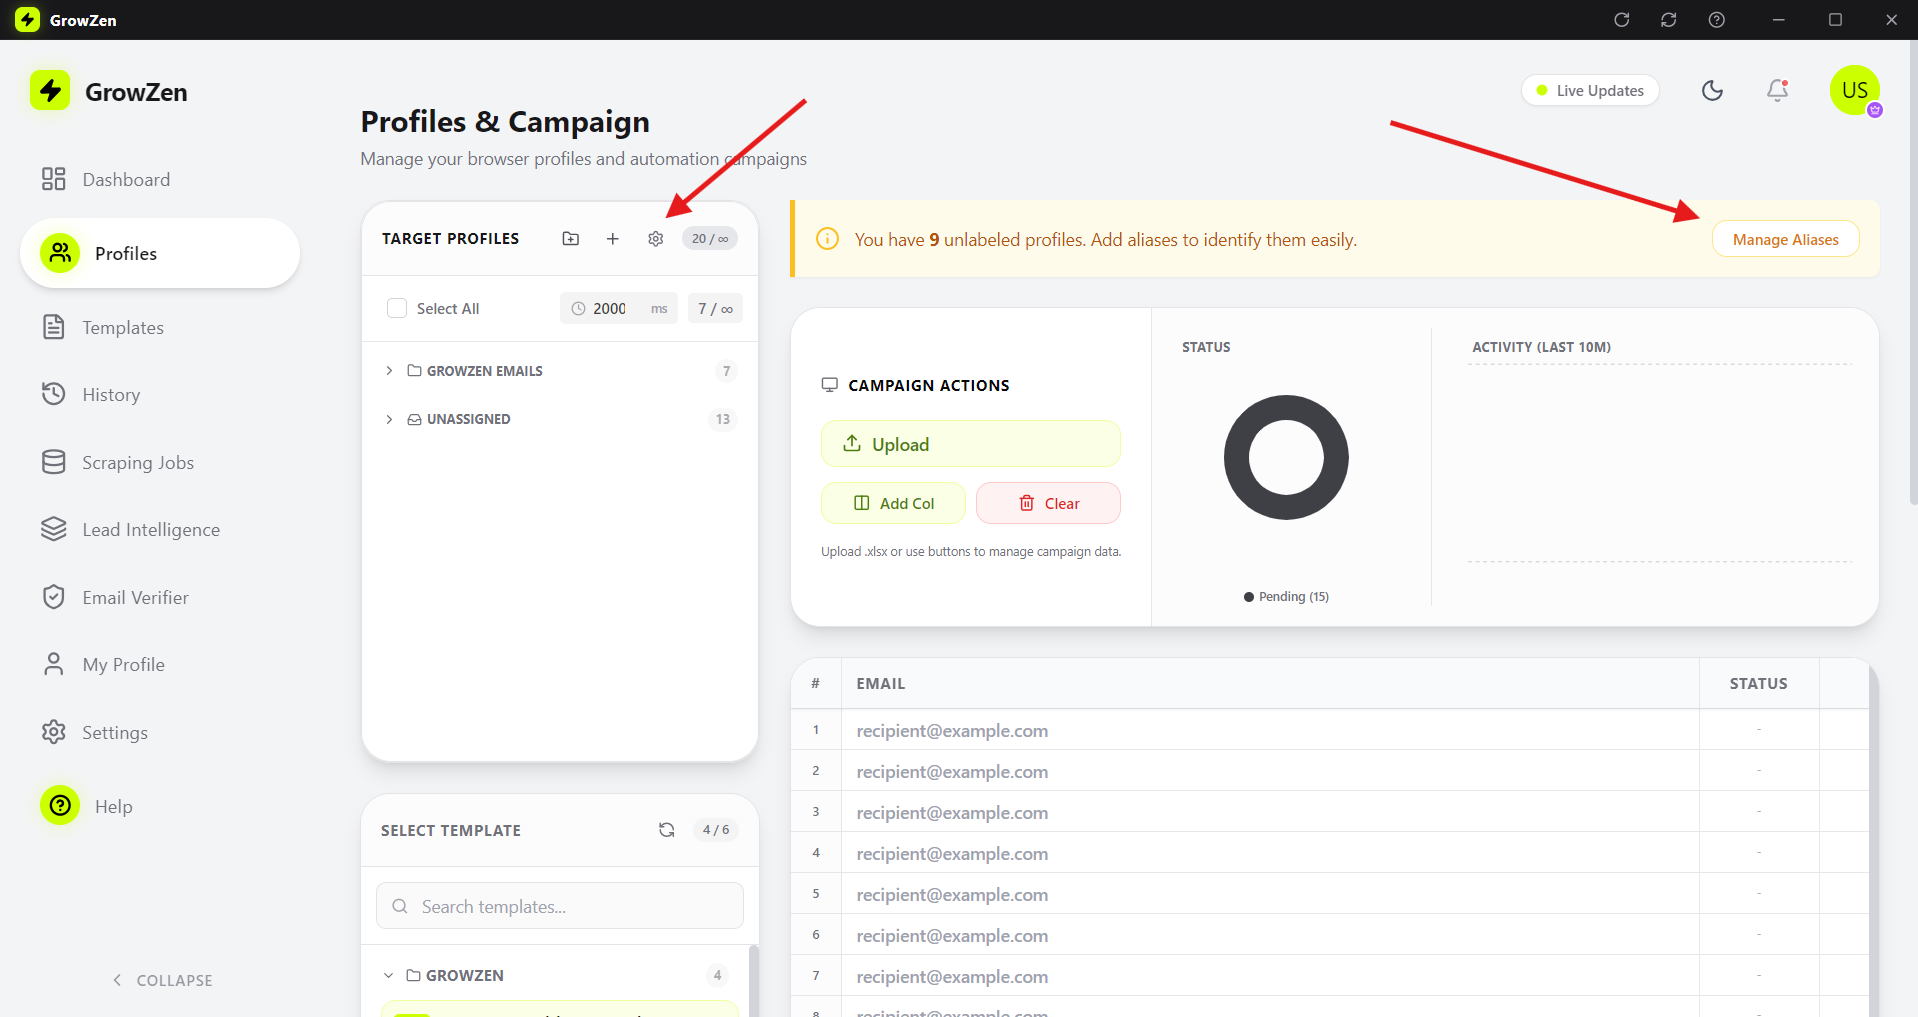
Set profile aliases
Add profile aliases so templates can personalize correctly.
- Give each profile a short alias (e.g., Shahid, Ali).
- Aliases help in template personalization placeholders.
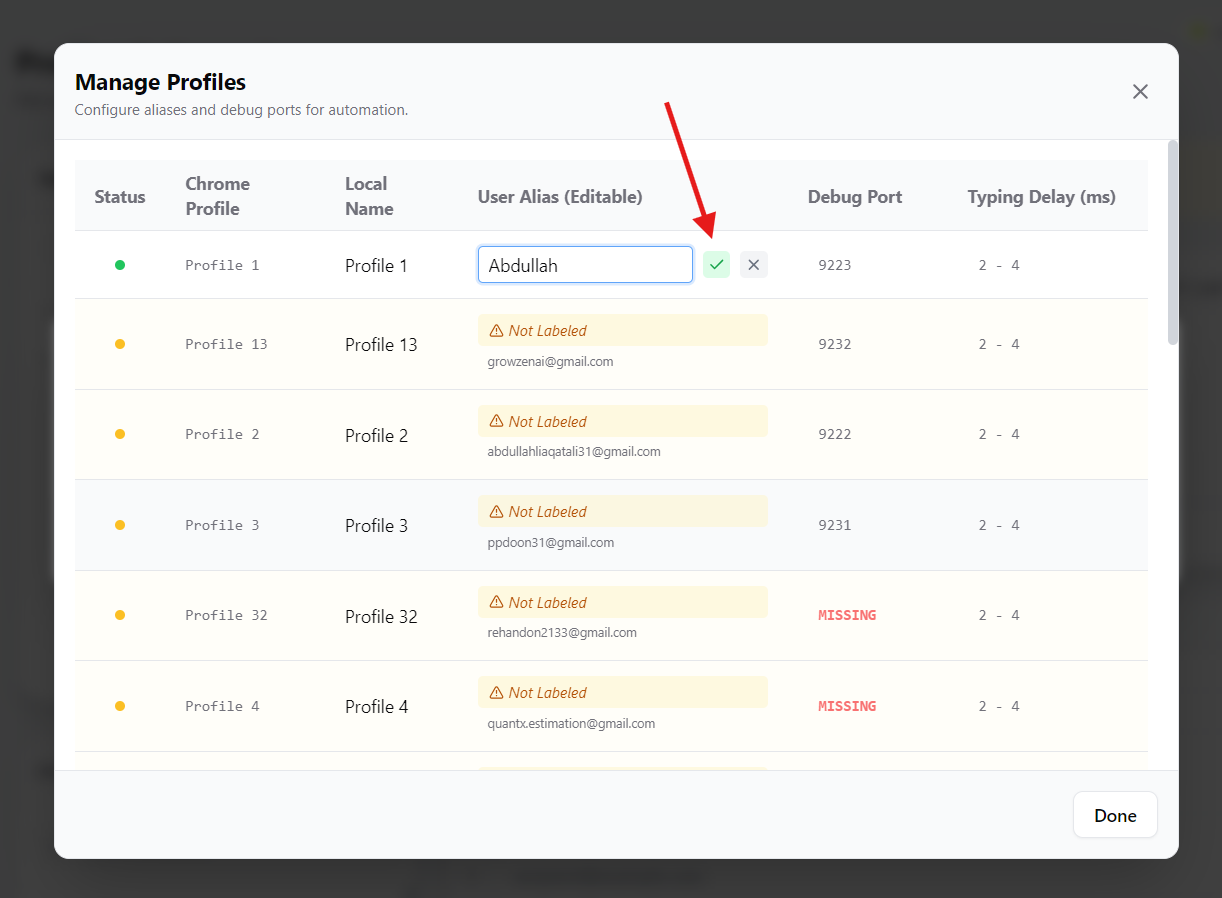
Write and save names
Save profile names and confirm the alias mapping.
- Save each alias after editing.
- Verify the correct alias shows beside the profile email.
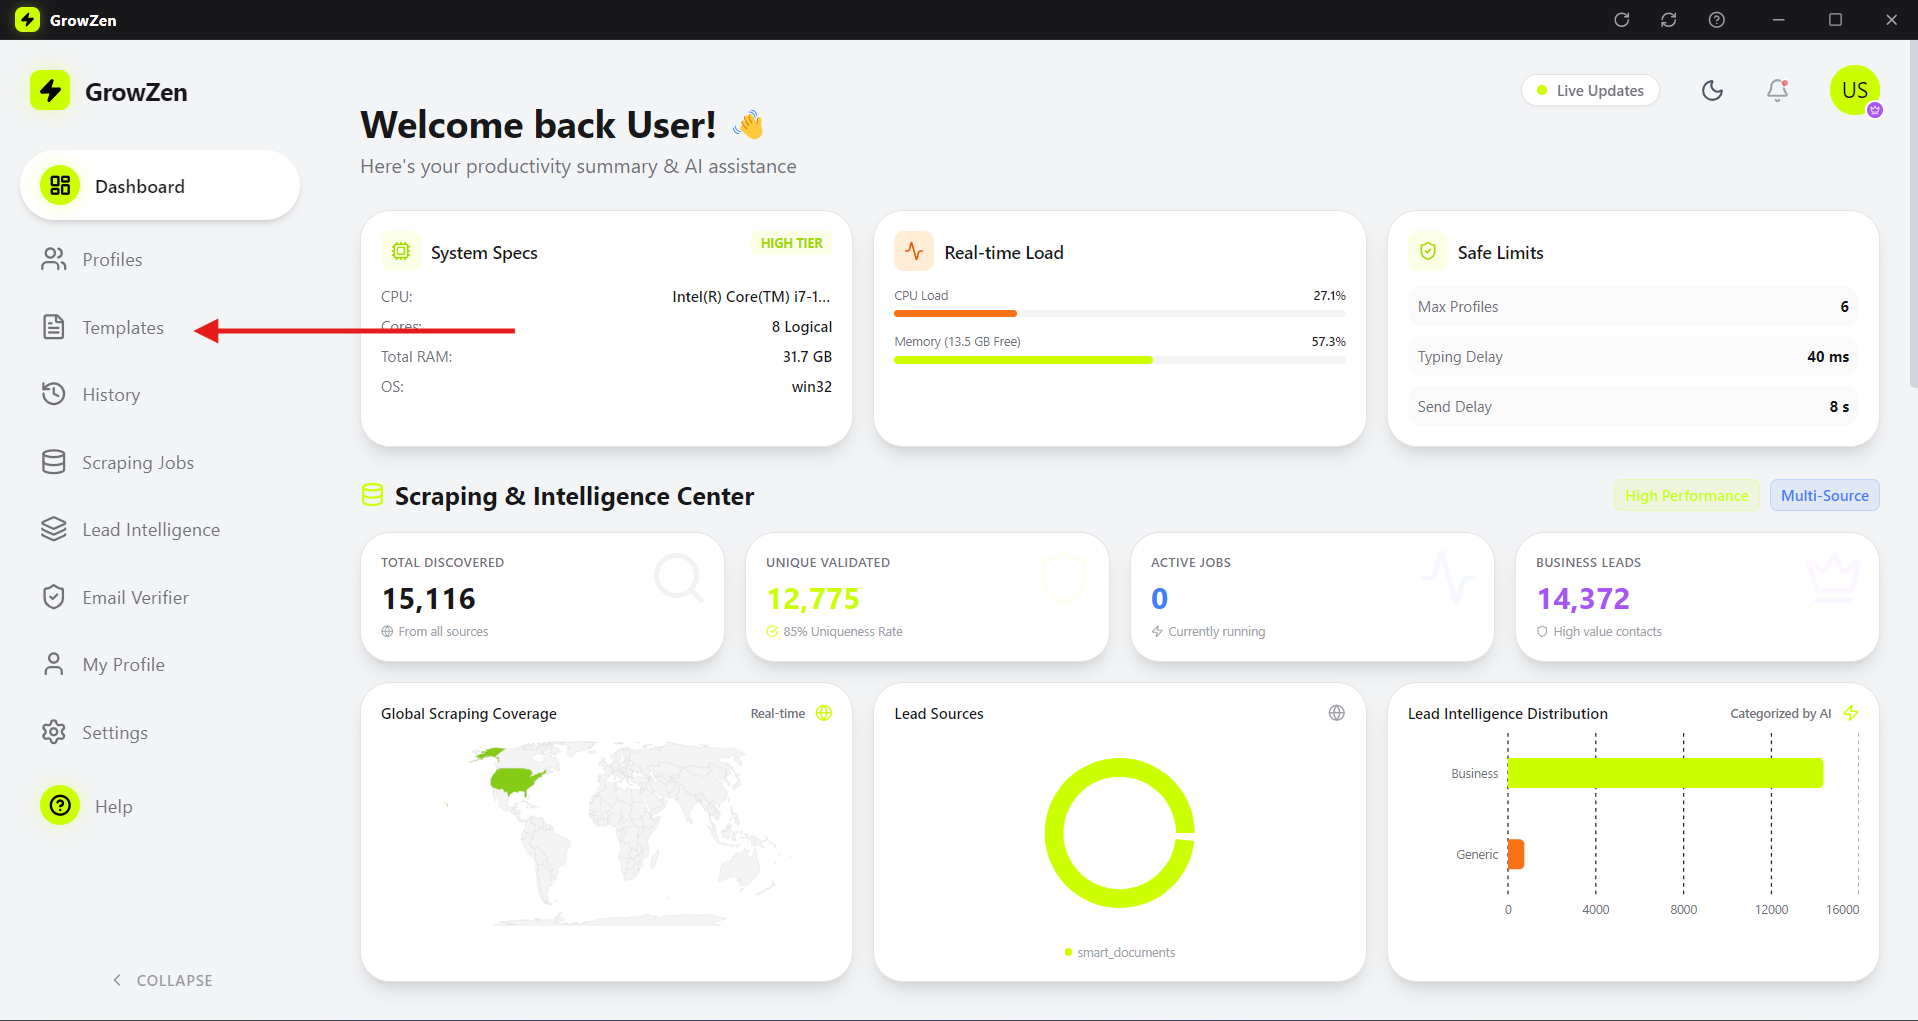
Open the templates page
Navigate to Templates to prepare your outreach scripts.
- Open Templates from the sidebar menu.
- Choose the folder where you want to store new scripts.
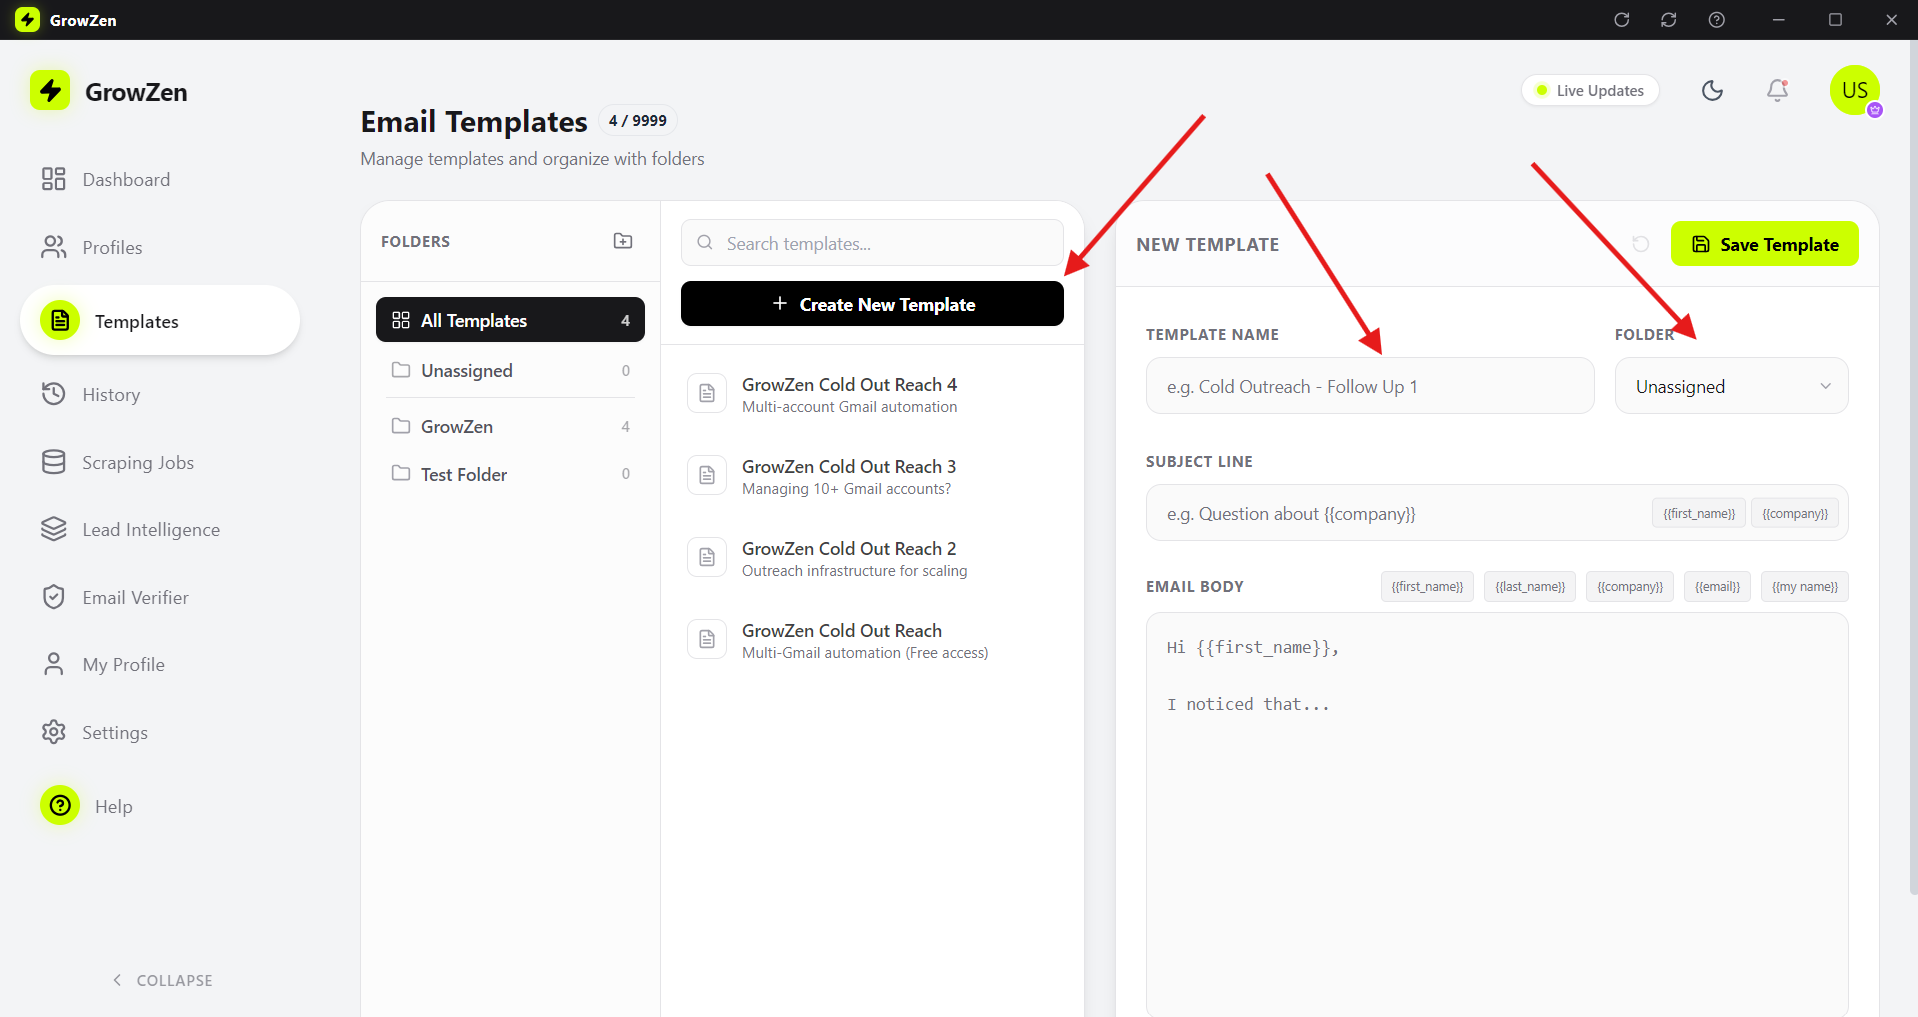
Create and save templates
Write your template scripts and save them for campaigns.
- Add subject + body with personalization variables.
- Save the template so it appears in campaign selection.
Select profiles and upload leads
Pick the profiles you want to use and add your lead list.
- Select one or more profiles for the campaign.
- Upload your leads file or paste leads directly.
- Confirm the leads count before continuing.
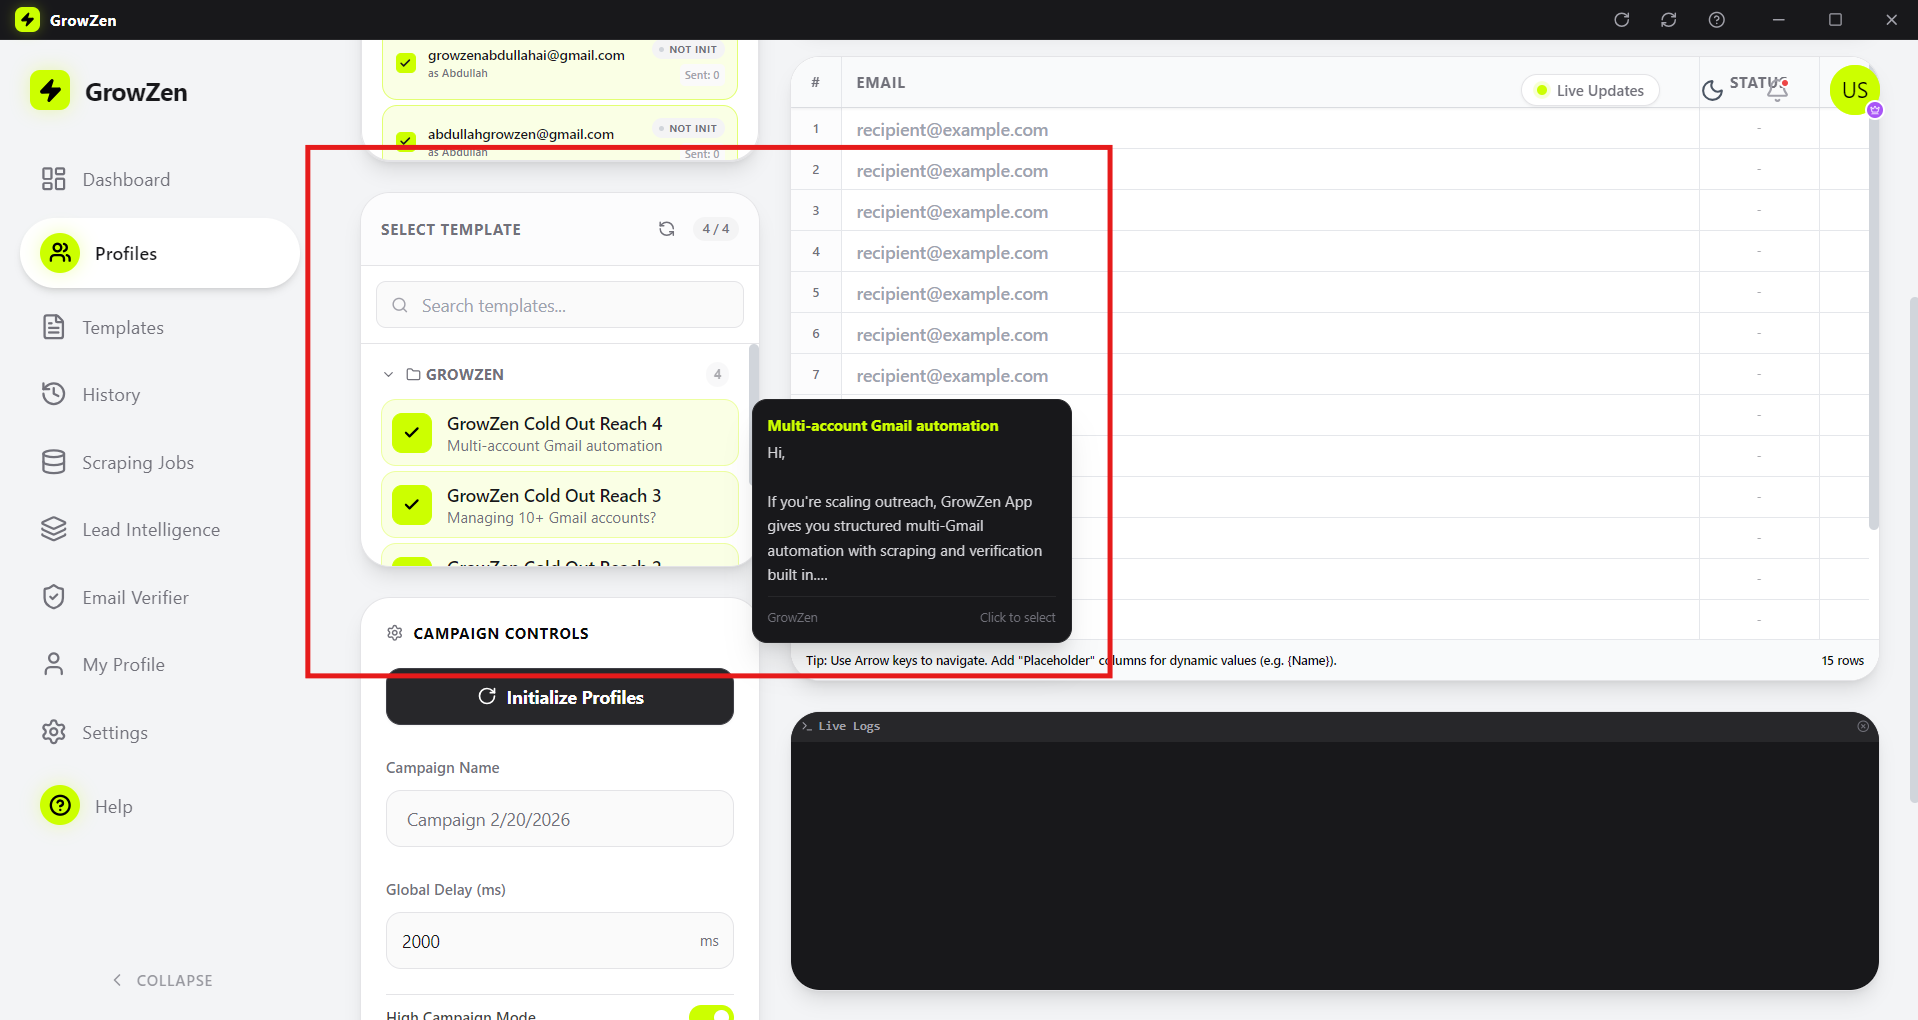
Select saved templates
Choose the templates you created for this campaign.
- Pick templates from your saved list.
- Preview each template to verify placeholders.
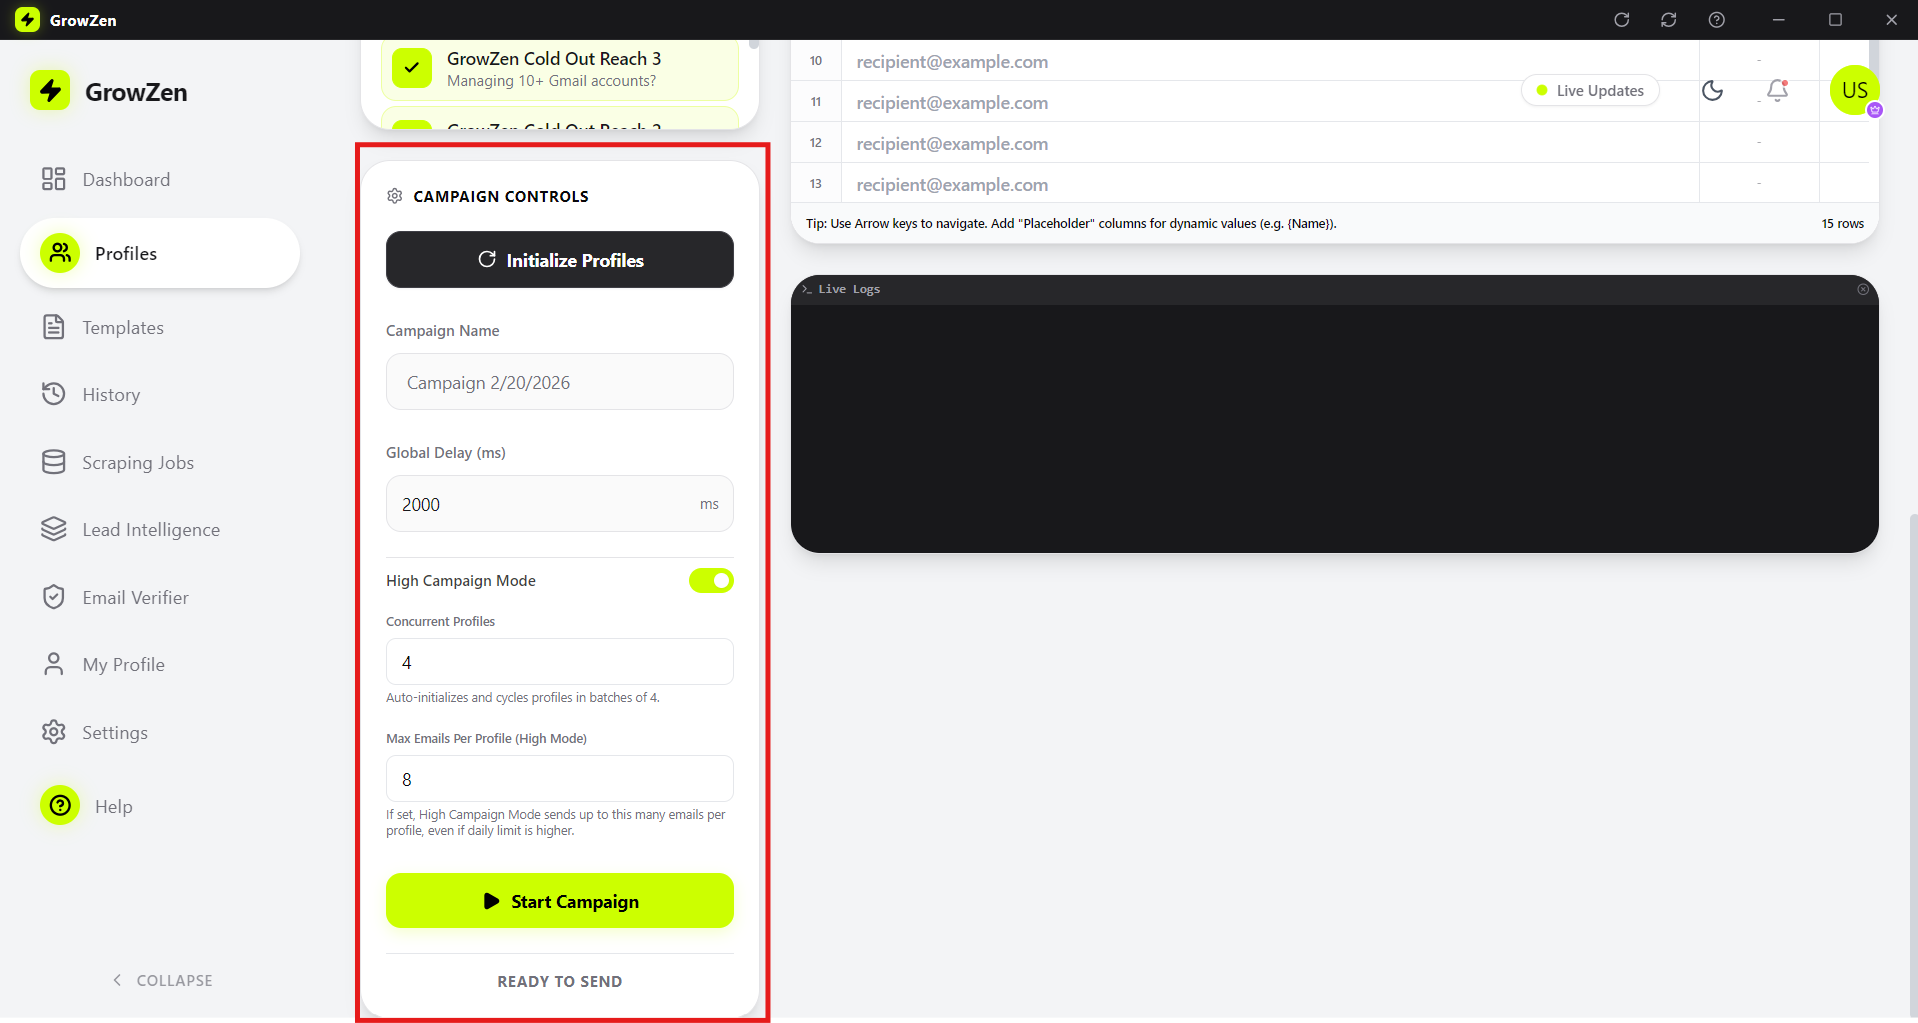
Set campaign configurations
Configure sending limits and scheduling options.
- Set daily limits and delays to protect account health.
- Choose the schedule window for sending.
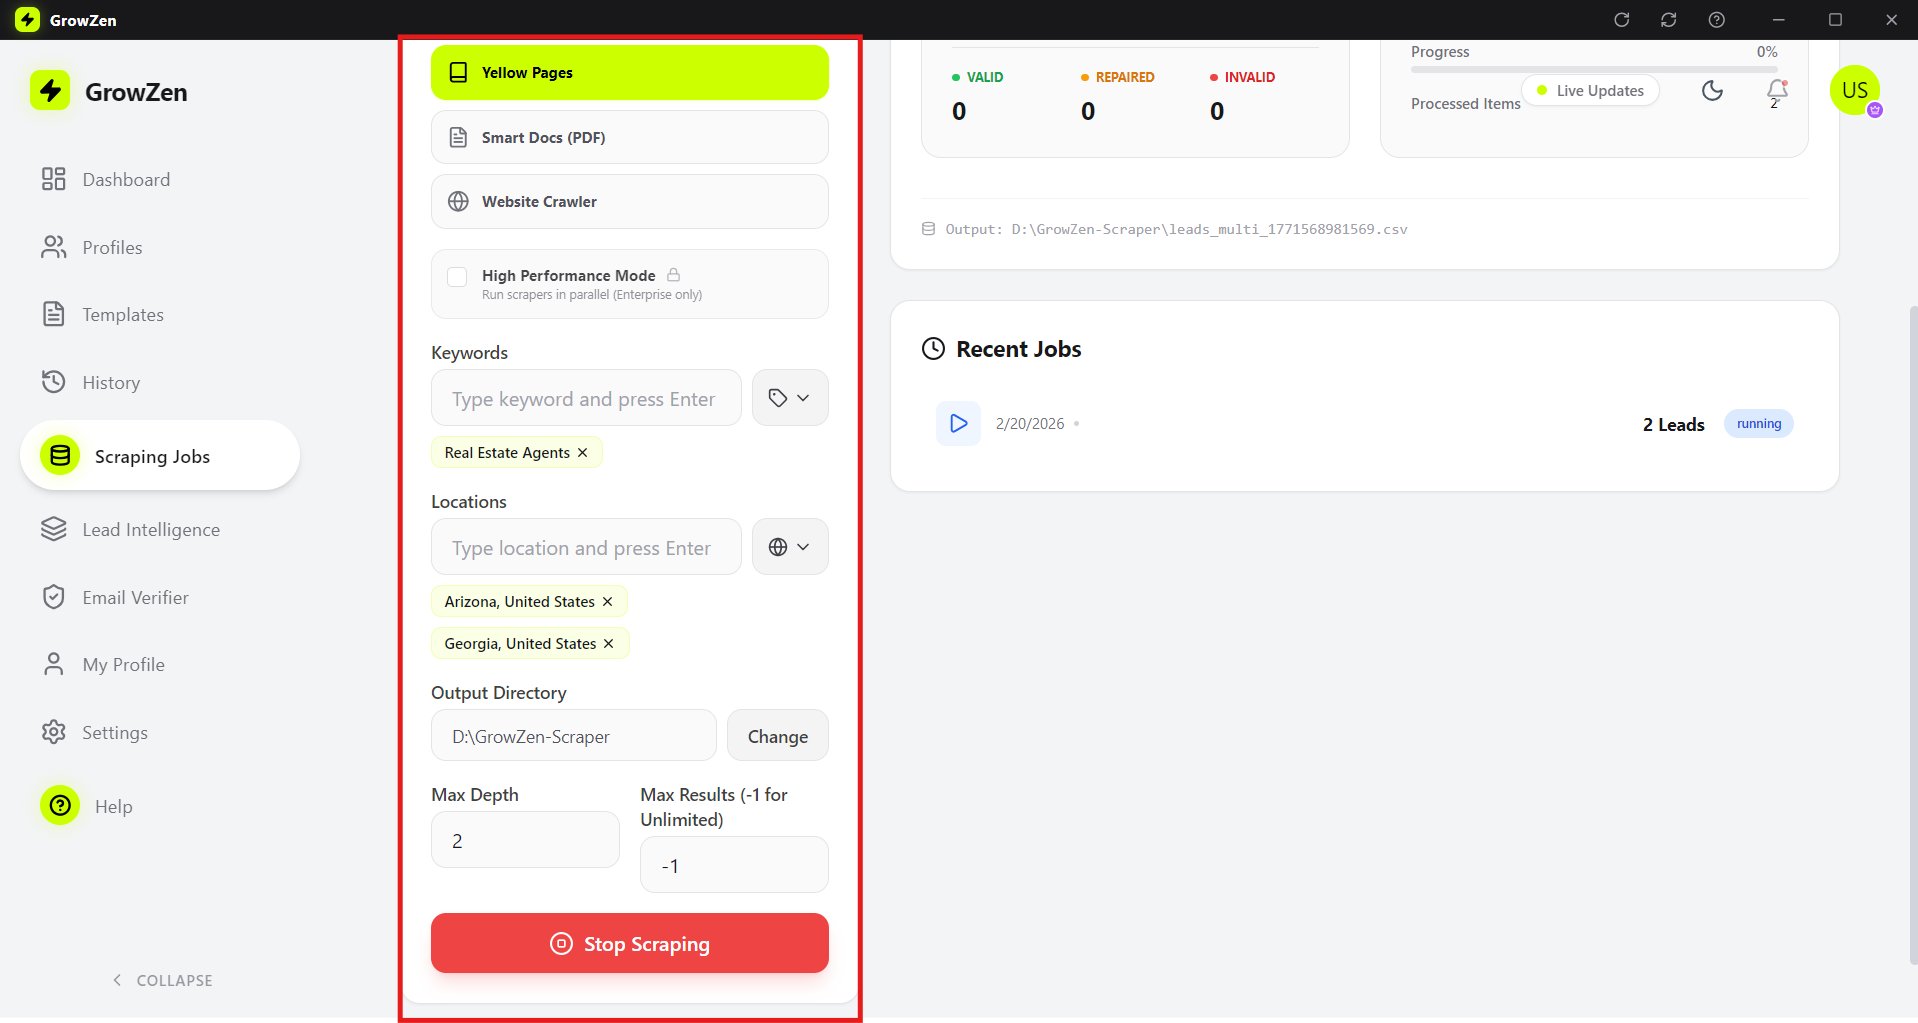
Start scraping jobs
Go to Scraping Jobs, configure, and start your job.
- Open Scraping Jobs from the sidebar.
- Select the data source and settings.
- Start the job and monitor progress.
Need the full walkthrough?
Rewatch the detailed guide and follow along step by step.
Generate Unlimited Leads and Manage Unlimited Multi Gmail Campaigns
Open Video Guide